
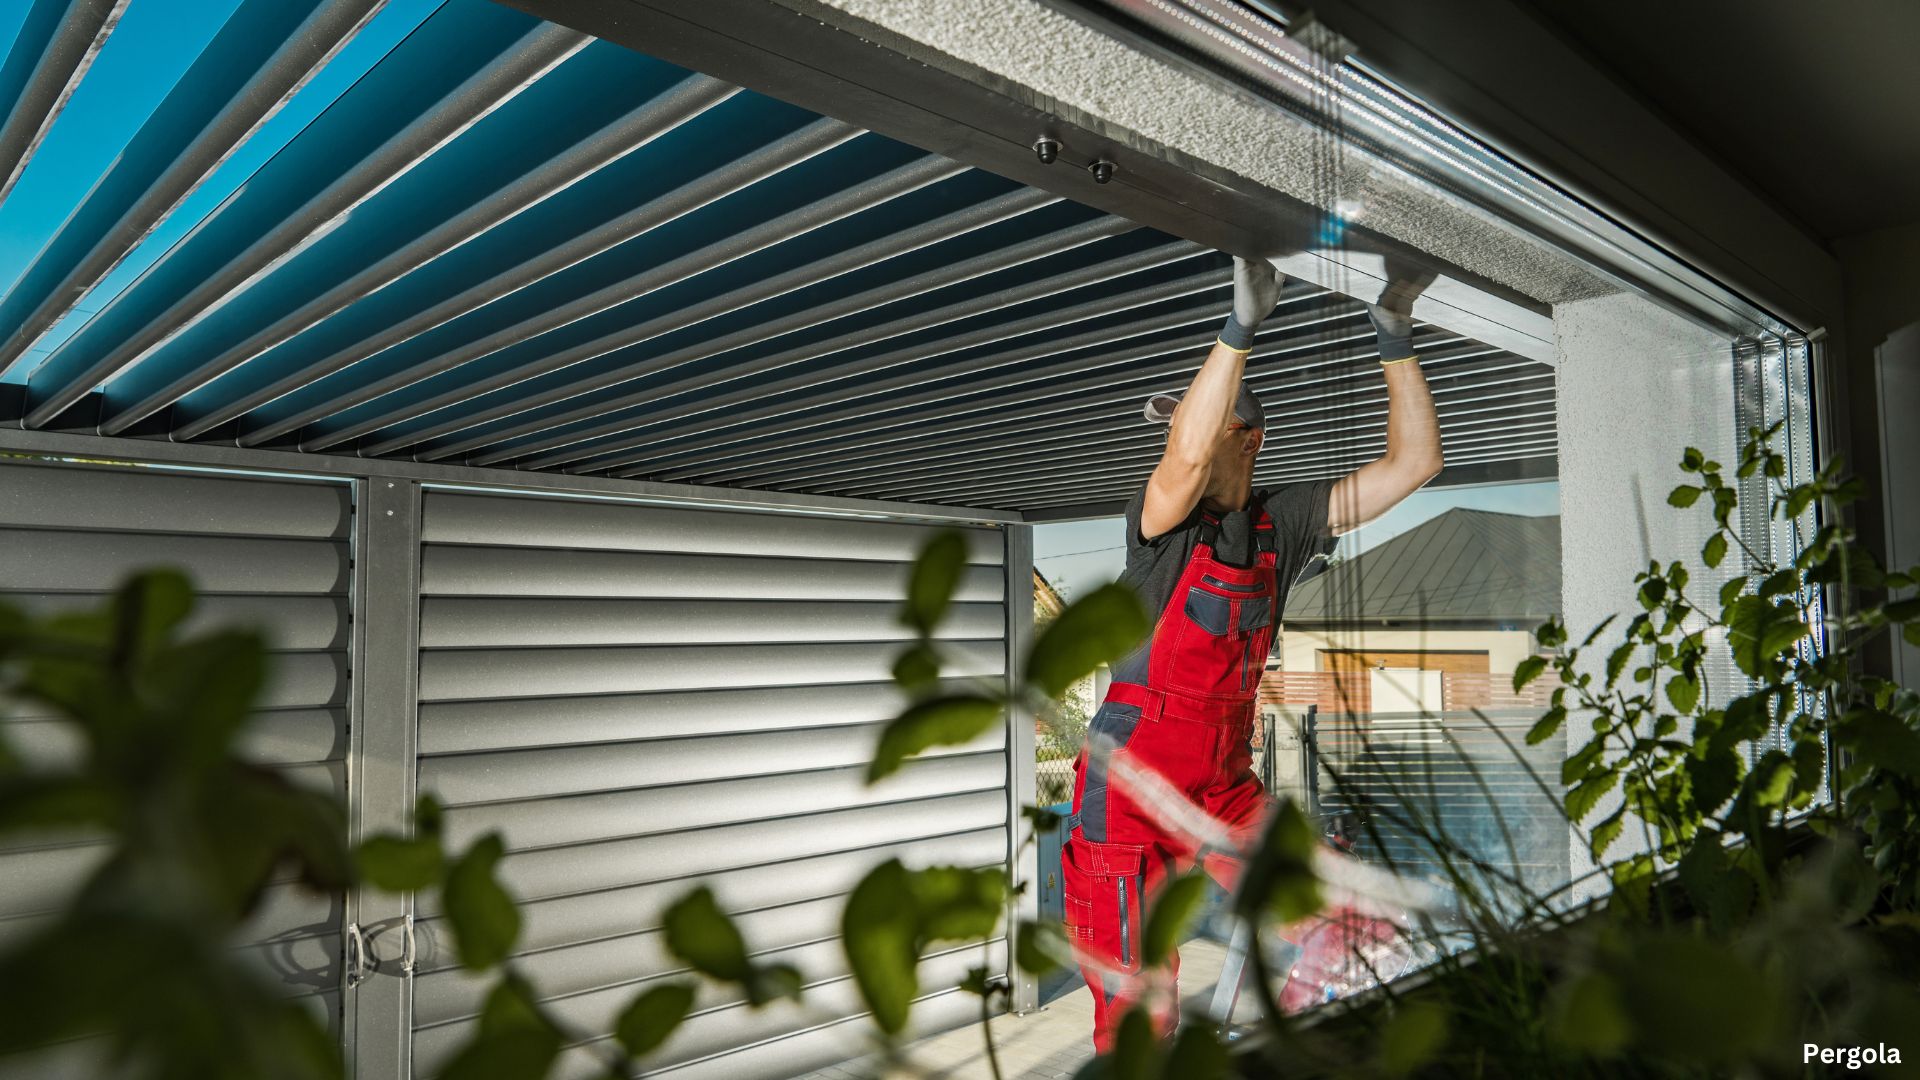
A professional pergola installation transforms a backyard into a defined outdoor room — more shade, better flow, and an elevated place to entertain. If you’re hiring a pro, expect a clear, step-by-step process that covers design, permits, foundations, assembly, finishing touches, and a final walkthrough so the outcome looks great and lasts.
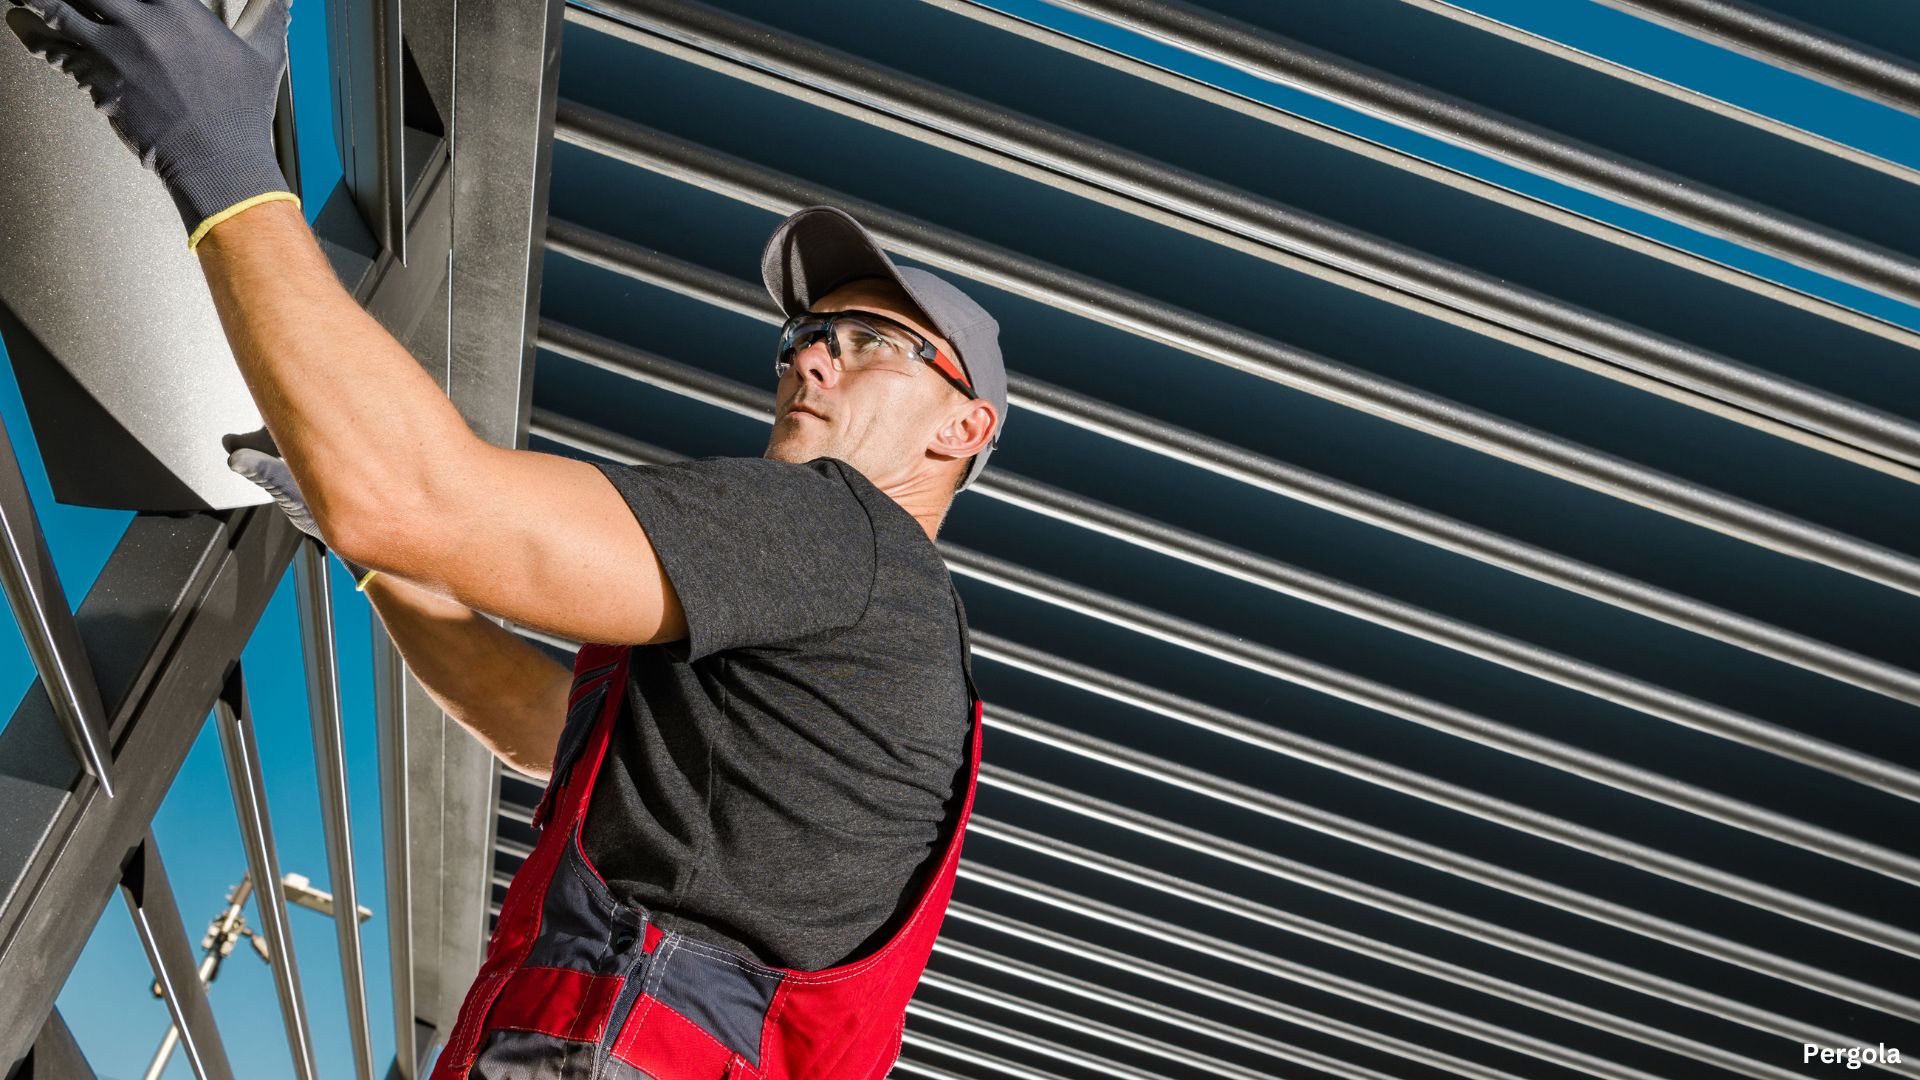
Expect a professional pergola installation to include a site survey, permits, concrete footings, skilled assembly, and a final walkthrough.
Professional Pergola Installation by PiPergola
1. Initial Consultation and Design
The project usually begins with a designer or builder visiting your property. They’ll confirm the exact spot, take measurements, note drainage and existing structures, and discuss materials and style (wood, aluminum, painted, stained, louvered, or fixed). This meeting sets expectations for size, roof style, and any extras like wiring for lights or heaters. A clear design reduces surprises later.
2. Permits, Codes, and Planning
Many pergolas are treated as permanent structures and may require a building permit. Your installer will check local rules and advise whether you need drawings, engineered footings, or inspections. Foundations and footings are subject to local code and frost-line rules, so professionals typically follow established building standards rather than guessing. Budget a small permit fee and a little extra time for approvals.
3. Site Preparation
Before crews arrive, the site is cleared and utilities are located. If the pergola attaches to your house, the team confirms proper flashing and water management. For freestanding pergolas, the crew marks post locations precisely so beams and rafters sit square and true. Good prep means faster assembly and fewer callbacks.
4. Footings and Foundations
A reliable pergola depends on solid footings. Professionals commonly dig concrete piers or set post bases anchored to concrete pads sized to the pergola and soil conditions. Depths vary by climate and soil — installers set footings to code and below frost lines where required, so your pergola won’t heave or lean over time. Never skip this step to save a few dollars; it’s the structure’s insurance policy.
5. Materials Delivery and Staging
Once footings cure, materials arrive. A pro orders all lumber, metal, or composite pieces and inspects deliveries for defects before installation. Staging the job site keeps things tidy and reduces damage — expect professionals to protect grass and walkways when possible.
6. Assembly: Posts, Beams, Rafters
Installers raise posts, attach beams, and fasten rafters in a logical sequence so each piece lines up squarely. If your pergola is attached to the house, crews take extra care flashings and load transfers are correct. Skilled teams use jigs, levels, and braces so visual lines are clean and structural connections are sound.
7. Electrical, Roofing, and Extras
If you want lighting, ceiling fans, retractable shades, or a louvered roof, electricians and specialized subcontractors may be scheduled. Plan these extras early so wiring and roof framing are integrated, not retrofitted. Smart or motorized pergolas take longer but give a more finished experience.
8. Finishing Touches and Weatherproofing
Finishing includes sanding, painting or staining, installing post caps or trim, and sealing any cut lumber. Professionals also complete flashing where the pergola meets the home and add anchors or bracing if the design requires it. Good finishing extends life and reduces maintenance.
9. Inspection, Cleanup, and Walkthrough
Reputable installers perform a final inspection, remove debris, and walk you through the completed work. They’ll point out maintenance needs, how to care for finishes, and which screws or fasteners to check seasonally. A formal handoff — with warranty and care instructions — is a mark of a professional job.
Typical Timeline
A straightforward, pre-designed pergola can be built in a few days of on-site work, but from first consult to final sign-off most professional projects run two to four weeks. That window accounts for design, permitting, footing curing time, material lead times, and any subcontractor work for electrical or roofing. Custom or larger projects can take longer.
Cost Expectations
Costs vary by size, material, and complexity. National averages put many professional installs in the low thousands — homeowners commonly see ranges from approximately $2,000 to $6,000 for standard sizes, with more elaborate or “smart” pergolas costing substantially more. Labor, permits, and footing work are common variables, so get itemized quotes from at least two reputable builders.
How To Prepare As A Homeowner
- Confirm property lines and utility locations before the crew arrives.
- Clear access paths for trucks and materials.
- Decide on extras (lighting, fans, shades) before the contract is signed.
- Ask for a written timeline, a permit plan, and an itemized quote.
- Request warranty details and a care checklist at handoff.
Common Questions Professionals Hear
- “Do I really need concrete footings?” Usually yes for permanence and safety. Professionals set footings per local code.
- “How long before I can use the space?” After the final inspection and cleanup — often within a month from the first meeting for standard jobs.
Pergola
A professional pergola installation is more than assembly — it’s careful site planning, code-aware foundations, precise carpentry, and thoughtful finishing that deliver a durable, attractive outdoor room. When you hire a knowledgeable team, you gain predictable timelines, safer structures, and a finished space you’ll use for years. Get multiple quotes, confirm permits and footings, and choose the installer who explains each step clearly.

